
Blogs
A Calm, Step-by-Step Look at the Process
Introduction: Installation Anxiety Is Normal
For many homeowners, installation is the most intimidating part of adding an outdoor structure.
Concerns often sound like this:
- Will this damage my home?
- How disruptive will the process be?
- Will it feel like construction, or like placement?
Modern pergola installation is far removed from traditional, open-ended building projects.
Understanding the process helps replace uncertainty with realistic expectations.
Step 1: Site Evaluation and Preparation
Installation begins long before any components arrive on site.
This stage focuses on understanding the existing environment:
- Ground conditions or paving structure
- Wall composition and load-bearing capacity
- Drainage direction and slope
- Sun orientation and prevailing wind
This evaluation ensures the pergola is placed deliberately,not simply fitted where space allows.
Step 2: Design Confirmation and Measurements
Precise measurement is critical.
Before installation, dimensions are confirmed to ensure:
- Alignment with doors, windows, and edges
- Proper spacing for drainage and airflow
- Visual balance with the home’s proportions
This step minimizes on-site adjustments and ensures the pergola feels integrated, not improvised.
Step 3: Anchoring and Structural Connection
Depending on the pergola type, anchoring may involve:
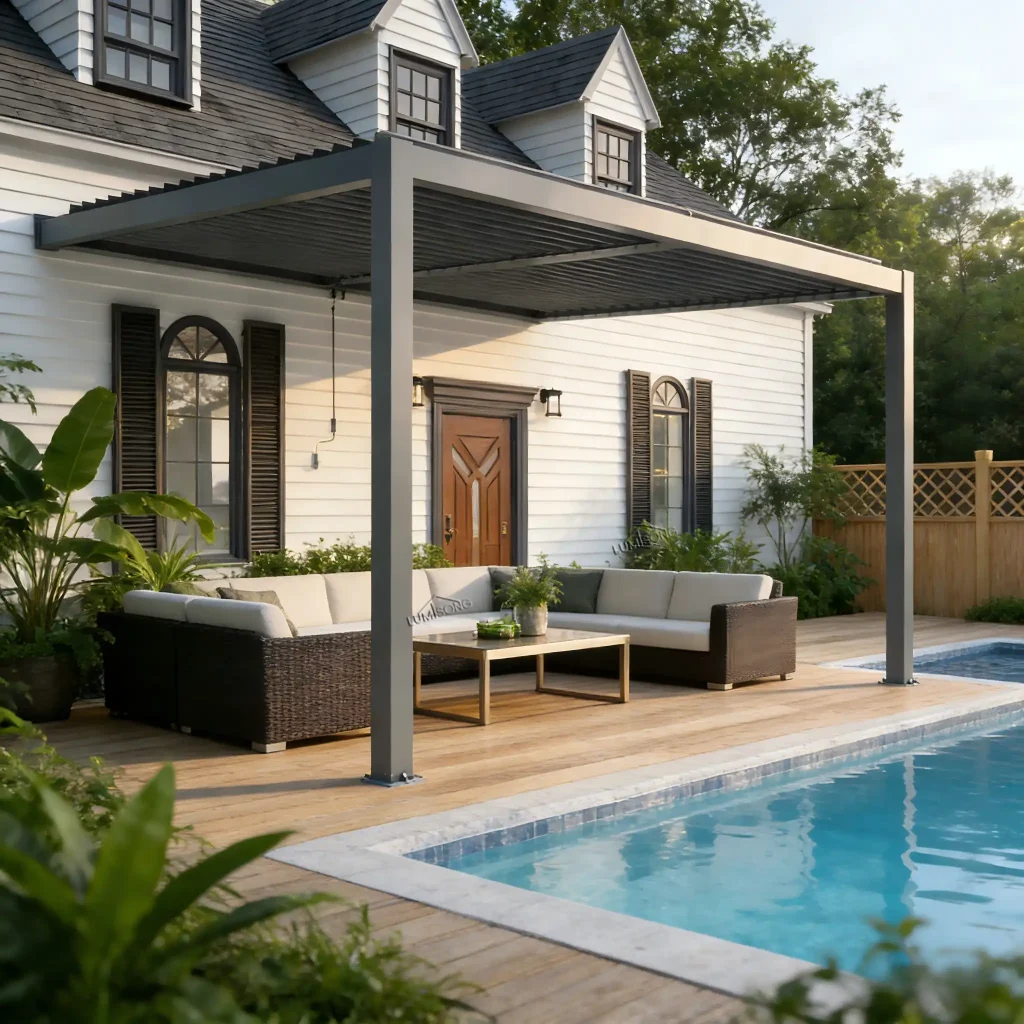
Freestanding Pergolas
- Anchoring into prepared foundations
- Securing to existing hardscape
- Ensuring vertical and lateral stability
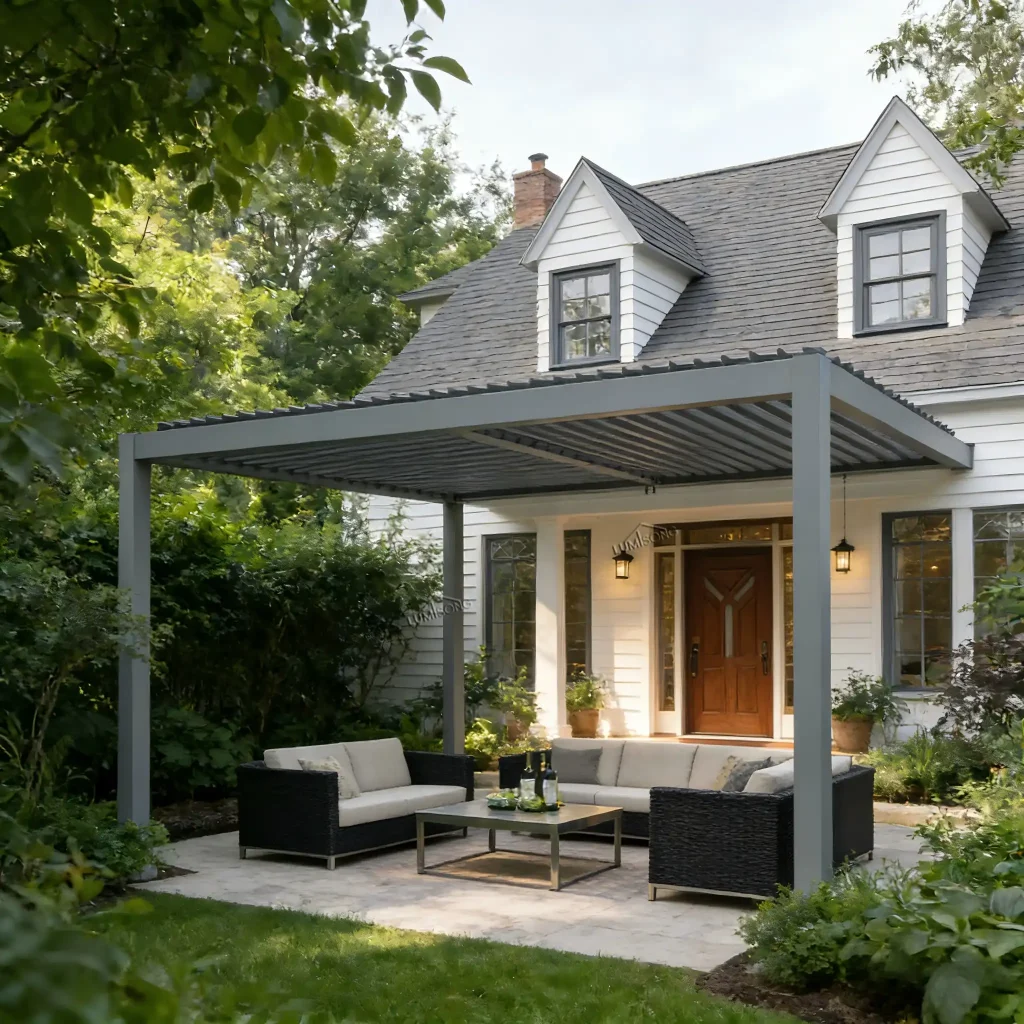
Wall-Mounted Pergolas
- Attaching to structural sections of the home
- Distributing load safely and evenly
- Preserving the integrity of exterior finishes
The goal is strength without visual heaviness.
Step 4: Assembly of the Structural Frame
Most aluminum pergola systems are designed as modular structures.
This allows:
- Controlled assembly
- Predictable timelines
- Minimal disruption to surrounding areas
Unlike traditional construction, there is no cutting, curing,or extended material processing on site.
Step 5: Roof System Installation
Whether fixed or louvered, the roof system is installed after the primary structure is secured.
This stage includes:
- Alignment of roof elements
- Integration of drainage channels
- Testing of movement for adjustable systems
Precision here defines long-term comfort and performance.
Step 6: Electrical and Control Integration (If Applicable)
For pergolas with lighting or motorized systems:
- Electrical components are integrated discreetly
- Controls are tested for reliability and ease of use
- Systems are verified for weather protection
This step is usually completed without visible wiring or intrusive alterations.
Step 7: Final Inspection and Adjustment
Before completion, installers check:
- Structural stability
- Drainage flow
- Alignment and operation of moving parts
Minor adjustments ensure the pergola performs as intended from the first day of use.
What Installation Does Not Typically Involve
One of the most reassuring aspects for homeowners is what installation does not require:
- No major demolition
- No prolonged construction noise
- No extended downtime of outdoor areas
In many residential projects, installation is completed within a clearly defined, short timeframe.
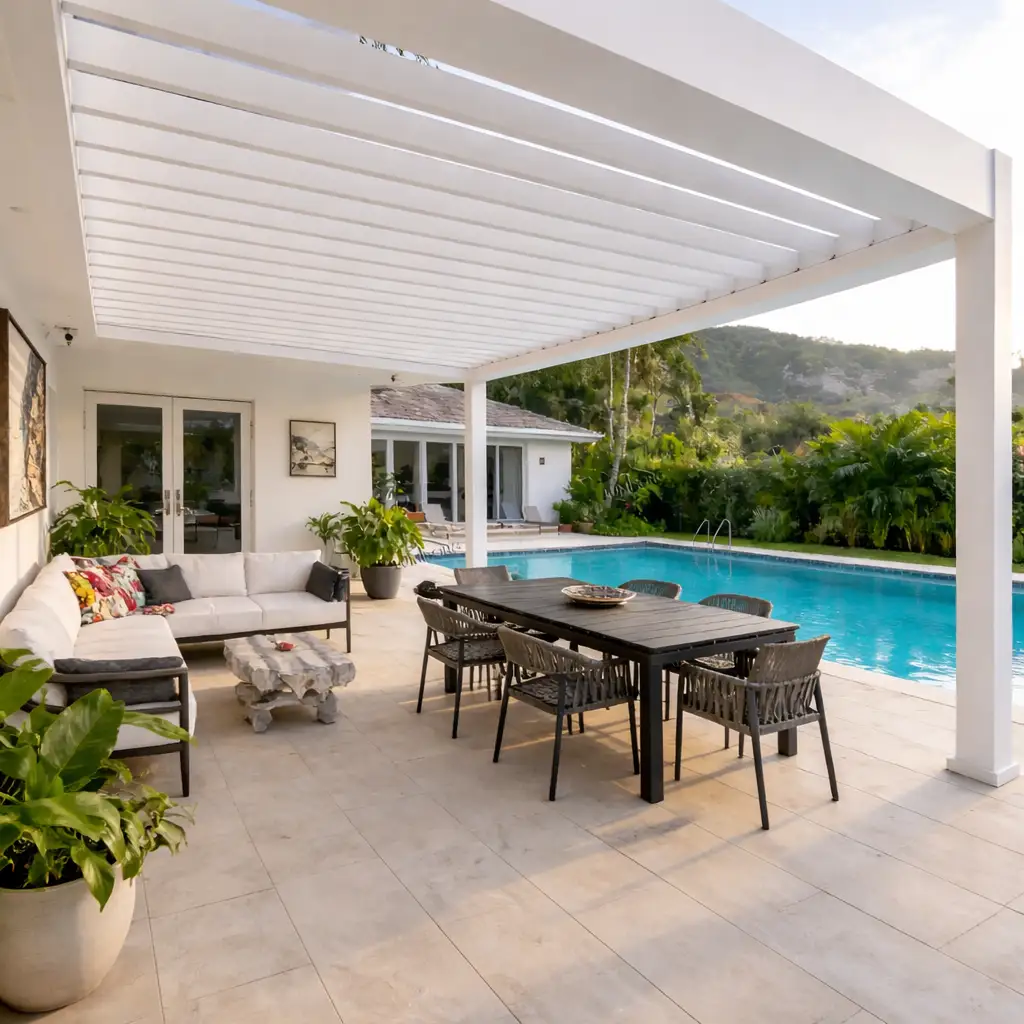
Living With the Result
Once installed, pergolas are usable immediately.
There is no curing period, no surface treatment schedule,and no waiting for the space to “settle.”
The structure transitions directly from installation to everyday life — morning coffee, evening meals,and everything in between.
Installation as Part of Design Integrity
A pergola should never feel “added on.”
When installation is done thoughtfully,the structure feels like it has always belonged there —
calm, proportionate, and intentional.
That is when outdoor living begins to feel effortless.
Explore Further
- Do Pergolas Need a Permit?
- Freestanding vs Wall-Mounted Pergolas
- Explore Pergola Systems